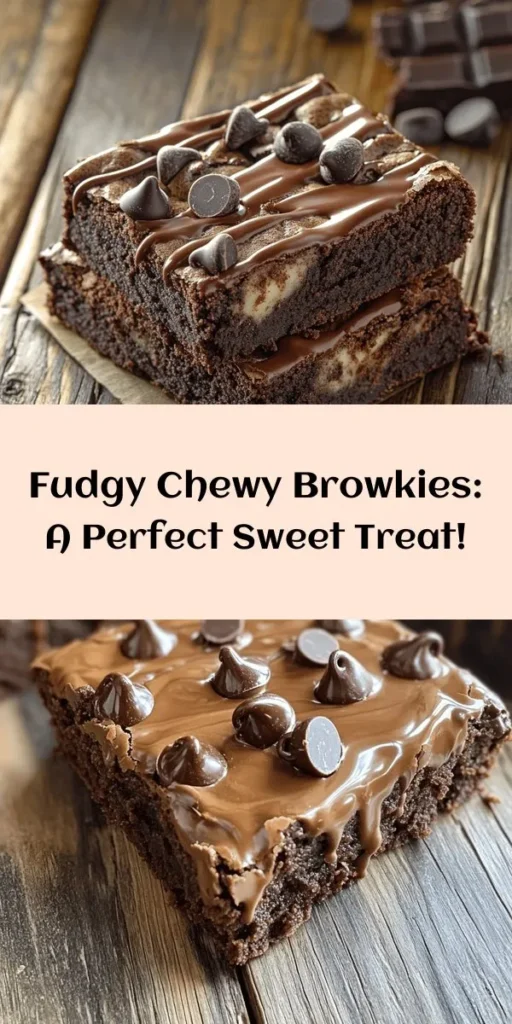
Introduction: The Irresistible Combination of Brownies and Cookies
In the world of baked goods, few desserts evoke as much joy as brownies and cookies. Each treat has its own legion of fans—brownies being celebrated for their rich, fudgy texture, while cookies are adored for their delightful chewiness and comforting aroma. But what if you could bring these two beloved treats together in one indulgent dessert? Enter Browkies, the delectable fusion that marries the best of both worlds! This article will guide you through the creation of the best fudgy chewy Browkies, sure to satisfy your sweet tooth while impressing your friends and family.
Browkies are not just another passing trend in the baking world; they are a testament to the creativity and innovation that home bakers are known for. With easy-to-follow instructions and a medley of rich flavors, you’ll learn how to craft this delightful treat from scratch, taking your baking game to new heights. Whether you are hosting a gathering or simply treating yourself after a long day, these Browkies promise to deliver a slice of happiness in every bite.
Understanding Browkies: The Perfect Dessert Fusion
Exploring the Concept of Browkies
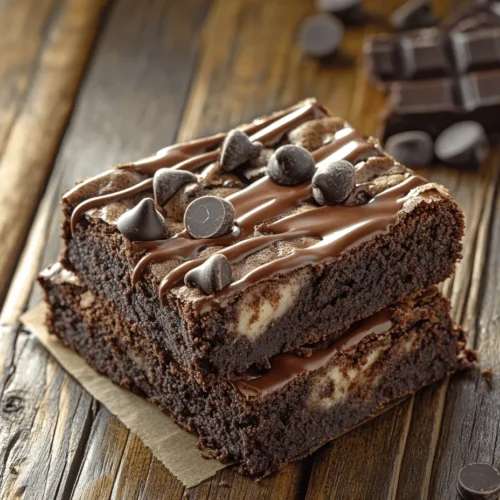
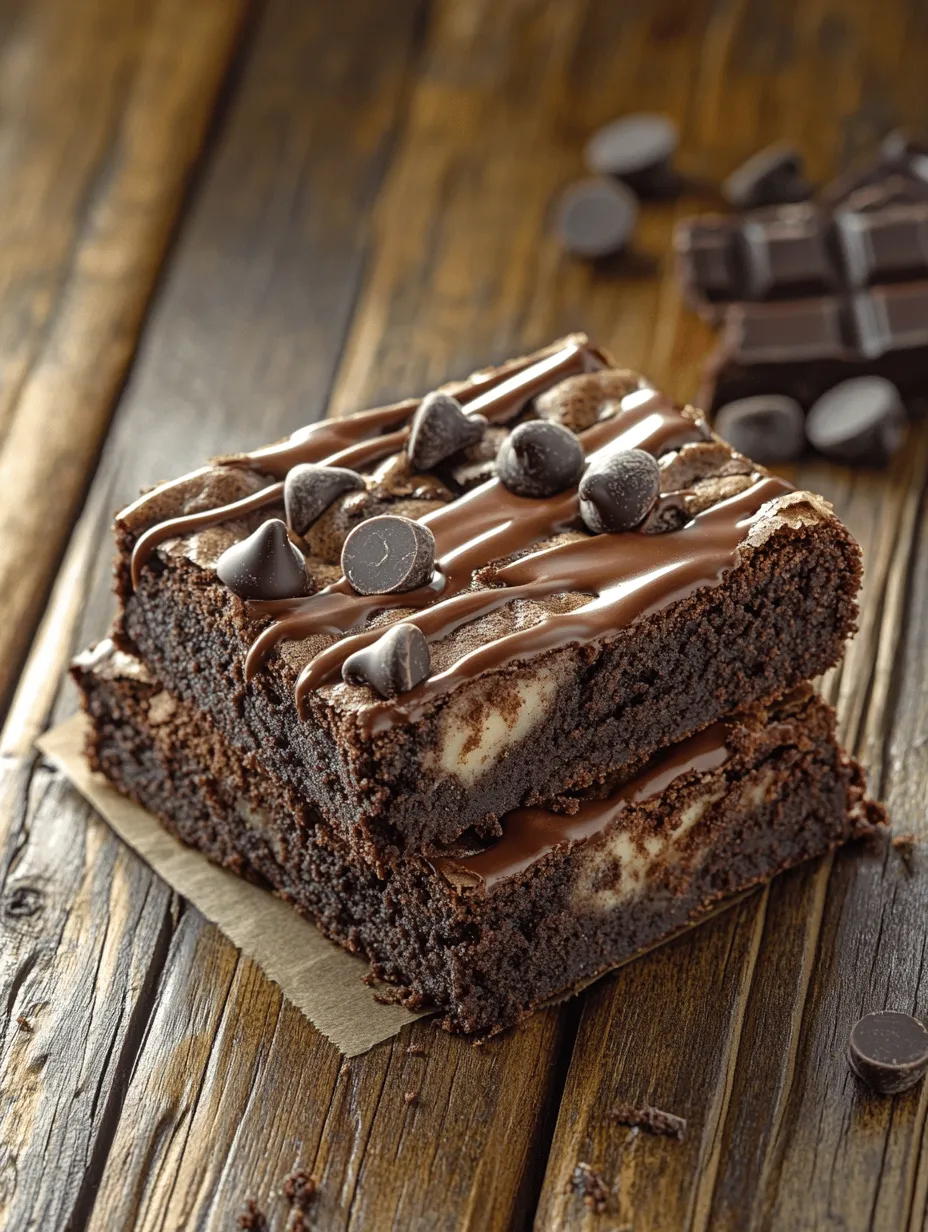
Browkies are a delicious hybrid dessert that combines the dense, fudgy characteristics of brownies with the chewy texture of cookies. The concept of Browkies originated from the desire to enjoy the best features of both desserts in one bite. With their dual layers, Browkies offer an enticing visual appeal and a delightful contrast in texture, making them a favorite among dessert enthusiasts.
The popularity of Browkies has surged in recent years, with countless variations emerging in the baking community. From the classic chocolate version to more adventurous flavor profiles incorporating nuts, caramel, or even seasonal spices, there’s a Browkie to suit every palate. This versatility allows bakers to experiment and personalize their creations, inviting every sweet tooth to join the fun.
The Texture and Flavor Profile
When crafting the best Browkies, the texture and flavor profile are paramount. The fudgy brownie layer is what sets this dessert apart. Made with rich cocoa powder and melted chocolate, this layer is dense, moist, and packed with chocolatey goodness. The key to achieving the perfect brownie layer lies in the balance of ingredients, particularly the unsalted butter and sugar, which contribute to the luscious fudginess that we all crave.
On the other hand, the chewy cookie layer complements the brownie base beautifully. With the right ratio of butter and sugars, this layer achieves that signature chewy texture that cookie lovers adore. The interplay between the two layers is enhanced by the choice of chocolate types used, allowing you to strike that perfect balance of sweetness and depth of flavor. Whether you opt for semi-sweet chocolate chips in the brownie layer or milk chocolate in the cookie layer, each bite of Browkie promises to be a rich, satisfying experience.
Essential Ingredients for Browkies
To bring your Browkies to life, it’s essential to understand the role of each ingredient involved in the process. Let’s break down the ingredients required for both the brownie and cookie layers, ensuring you have everything you need to create these delightful treats.
Breaking Down the Brownie Layer Ingredients
– Unsalted Butter and Sugar: The foundation of the brownie layer starts with unsalted butter, which provides richness while allowing you to control the saltiness of the recipe. Granulated sugar adds sweetness and helps create that coveted chewy texture, while brown sugar can be used for extra moisture and depth of flavor.
– Importance of Eggs and Vanilla Extract: Eggs serve as a binding agent, providing structure to the brownies while contributing to the fudgy texture. Vanilla extract enhances the overall flavor, adding warmth and complexity to the chocolate.
– Cocoa Powder, Flour, Salt, and Baking Powder: Cocoa powder is the star ingredient that gives brownies their chocolate flavor and color. All-purpose flour provides stability and structure, while a pinch of salt elevates the flavors and balances the sweetness. Baking powder is essential for a slight lift, preventing the brownies from becoming too dense.
– Enhancing Flavor with Semi-Sweet Chocolate Chips: To amplify the chocolate experience, semi-sweet chocolate chips are added to the brownie batter. They melt into the mixture, creating pockets of gooey chocolate bliss in every bite.
Examining the Cookie Layer Ingredients
– Creaming Butter and Sugars: The cookie layer begins with the creaming method, where butter and sugars are beaten together until light and fluffy. This process incorporates air into the mixture, contributing to a soft and chewy texture.
– The Role of Eggs and Vanilla in the Cookie Layer: Just like in the brownie layer, eggs play a crucial role in binding the cookie ingredients together. Vanilla extract adds that familiar, comforting flavor that pairs perfectly with chocolate.
– Balancing Dry Ingredients: Flour, Baking Soda, and Salt: All-purpose flour is the main dry ingredient in the cookie layer, while baking soda helps the cookies rise slightly, creating a tender bite. A pinch of salt enhances the sweetness and balances the flavors.
– Incorporating Milk Chocolate Chips for Added Richness: To add an extra layer of sweetness and creaminess, milk chocolate chips are incorporated into the cookie batter. This choice complements the intense chocolate flavor of the brownie layer, creating a deliciously harmonious dessert.
Step-by-Step Instructions for Crafting Browkies
Now that you understand the essential ingredients, it’s time to dive into the step-by-step instructions for creating your very own fudgy chewy Browkies. Follow these guidelines carefully to ensure your Browkies turn out perfectly every time.
Prepping the Oven and Baking Pan
Before you start baking, it’s crucial to prepare your oven and baking pan properly. Preheat your oven to 350°F (175°C) to ensure even baking. An adequately preheated oven allows the Browkies to rise and set correctly, creating that perfect texture.
Next, prepare your baking pan. For Browkies, an 8×8-inch square pan works best. Grease the pan with a small amount of butter or cooking spray to prevent sticking. For added security, line the bottom and sides of the pan with parchment paper, leaving a slight overhang. This will make it easier to remove the Browkies once they are baked and cooled.
Creating the Brownie Layer: Step-by-Step
1. Melting Butter: Start by melting the unsalted butter in a microwave-safe bowl or on the stovetop over low heat. Be careful not to let it boil; you want it to be just melted, as this helps achieve the fudgy texture in your brownies.
2. Combining Ingredients: In a large mixing bowl, whisk the melted butter with granulated sugar and brown sugar until well combined. The mixture should be slightly glossy. Add in the eggs one at a time, whisking well after each addition, followed by the vanilla extract. This step is essential for incorporating air and achieving a light texture.
3. Incorporating Dry Ingredients: Sift together the cocoa powder, flour, salt, and baking powder in a separate bowl. Gradually fold the dry ingredients into the wet mixture using a spatula or wooden spoon. Be careful not to overmix; stop as soon as you see no more dry flour.
4. Adding Chocolate Chips: Gently fold in the semi-sweet chocolate chips, ensuring they are evenly distributed throughout the batter. This will create pockets of melted chocolate in the finished Browkies.
5. Pouring into the Pan: Pour the brownie batter into the prepared baking pan, spreading it evenly with a spatula. Smooth the top to ensure even baking, and set aside while you prepare the cookie layer.
By following these steps, you are well on your way to crafting the best fudgy chewy Browkies. The blend of rich chocolate flavors and contrasting textures will soon come together in a delightful dessert that everyone will love. Keep reading for the next steps, where we will dive into preparing the cookie layer and finishing your Browkies masterpiece.
Avoiding Common Mistakes in Brownie Batter
When crafting the perfect brownie layer for your Browkies, it’s essential to avoid some common pitfalls that can affect the final product. Here are a few tips to keep in mind:
1. Overmixing the Batter: Overmixing can lead to tough brownies. Once you add the dry ingredients to the wet, mix just until you see no dry flour. This ensures a tender, fudgy texture.
2. Incorrect Oven Temperature: Always preheat your oven, and consider using an oven thermometer to check that it’s at the right temperature. An oven that’s too hot can cause your brownies to rise too quickly and then collapse.
3. Wrong Pan Size: Using a pan that is too small can cause the batter to overflow, while a pan that is too large can lead to thin, overcooked brownies. Stick to the recommended pan size in the recipe for the best results.
4. Not Using Quality Ingredients: The flavor of your Browkies largely depends on the quality of your chocolate and cocoa powder. Opt for high-quality semi-sweet chocolate and unsweetened cocoa powder for the best taste.
Crafting the Cookie Layer: Step-by-Step
To create the chewy cookie layer that complements the fudgy brownie base, follow these detailed steps:
Creaming Butter and Sugars: Achieving the Right Texture
1. Ingredients Preparation: Begin by measuring your softened butter and sugars accurately. Use one cup of unsalted butter and one cup of brown sugar, along with half a cup of granulated sugar.
2. Creaming Process: In a large mixing bowl, combine the softened butter with both types of sugar. Using an electric mixer, beat the mixture on medium speed until it is light and fluffy, about 3-5 minutes. This process is crucial for incorporating air into the batter, which will help your cookie layer rise and achieve a chewy texture.
Mixing Dry Ingredients: Ensuring Even Distribution
1. Dry Ingredients: In a separate bowl, whisk together two cups of all-purpose flour, one teaspoon of baking soda, and half a teaspoon of salt.
2. Combining: Gradually add the dry mixture to the creamed butter and sugars. Mix on low speed until just combined. Be careful not to overmix, as this can lead to a denser cookie layer.
Incorporating Chocolate Chips Effectively
1. Chocolate Chips Addition: Fold in one cup of semi-sweet chocolate chips using a spatula. This gentle mixing ensures that the chips are evenly distributed without breaking them down.
2. Chill the Dough: For the best results, chill the cookie dough in the refrigerator for about 30 minutes. This step helps to solidify the butter, which will prevent the cookies from spreading too much during baking.
Assembling the Browkies: Techniques for Layering
Once you have your brownie and cookie layers ready, it’s time to assemble the Browkies.
Pouring and Spreading the Brownie Batter
1. Brownie Layer: Pour the prepared brownie batter into a greased and lined 9×13 inch baking pan. Use a spatula to evenly spread the batter across the bottom of the pan.
2. Creating a Base: Ensure that the batter reaches the edges of the pan for even baking. This layer will provide the fudgy foundation for your Browkies.
Gently Spoon Cookie Dough for an Even Layer
1. Cookie Layer: After chilling, remove the cookie dough from the refrigerator. Using a spoon or cookie scoop, drop spoonfuls of the cookie dough on top of the brownie batter.
2. Spreading: Gently spread the cookie dough over the brownie layer using your fingertips or a spatula. Aim for an even layer, but it’s okay if some brownie batter shows through.
Tips for Achieving a Beautiful Marbled Effect
1. Swirling: For a marbled look, use a knife or toothpick to swirl the cookie dough into the brownie batter slightly. This technique creates a beautiful visual effect while still keeping both layers distinct.
2. Avoid Over-Mixing: Be careful not to over-mix the layers as this could result in a muddled appearance rather than the desired marbling.
Baking the Browkies: Timing and Techniques
The baking stage is crucial for achieving the perfect Browkies.
Understanding Baking Times and Testing for Doneness
1. Baking: Place the assembled Browkies in a preheated oven at 350°F (175°C) and bake for about 30-35 minutes.
2. Testing: To check for doneness, insert a toothpick into the center. If it comes out with a few moist crumbs, the Browkies are ready. If it comes out wet with batter, give them a few more minutes.
Recognizing Visual Cues for Perfect Browkies
1. Visual Indicators: Look for a slightly puffed top and edges that begin to pull away from the sides of the pan. The center should appear set but still soft.
2. Cooling: Allow Browkies to cool in the pan for at least 15 minutes before transferring them to a wire rack to cool completely. This cooling time helps set the layers.
Cooling and Cutting: Ensuring the Best Presentation
Proper cooling and cutting techniques will enhance the presentation of your Browkies.
Importance of Cooling Time for Texture
1. Cooling: Let the Browkies cool completely in the pan. This cooling period allows the layers to firm up, making it easier to cut them into squares without crumbling.
2. Texture: A well-cooled Browkie will have a fudgy brownie texture complemented by a chewy cookie layer, creating a delightful contrast.
Techniques for Lifting and Cutting into Squares
1. Lifting: Use the edges of the parchment paper to lift the Browkies out of the pan. This method avoids sticking and ensures a clean lift.
2. Cutting: Use a sharp knife to cut the Browkies into squares. For clean cuts, wipe the knife with a damp cloth between slices. This technique prevents the layers from sticking to the knife.
Serving Suggestions for Browkies
Browkies are versatile and can be enjoyed in various ways.
Creative Ways to Serve Browkies
1. Pairing with Ice Cream or Whipped Cream: Serve warm Browkies with a scoop of your favorite ice cream or a dollop of whipped cream for an indulgent dessert.
2. Serving Warm Versus at Room Temperature: While Browkies are delicious at room temperature, serving them warm enhances the gooey texture. Simply warm them in the microwave for a few seconds before serving.
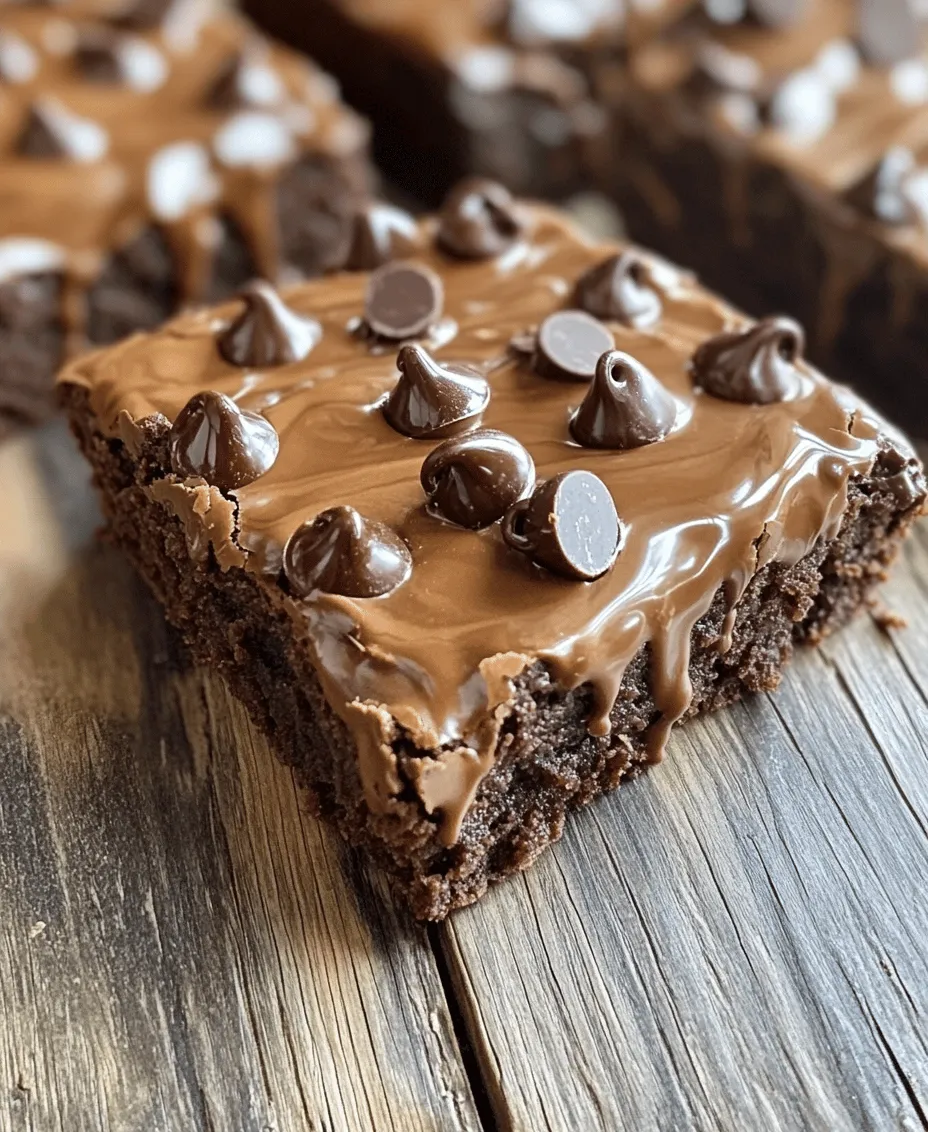
3. Presentation Ideas for Special Occasions: For a festive touch, drizzle melted chocolate or caramel sauce over the top and garnish with sprinkles or nuts. Dress them up on a decorative platter for parties or gatherings.
Nutritional Information and Storage Tips
Understanding the nutritional content and proper storage of Browkies can help you enjoy them responsibly.
Nutritional Breakdown of Browkies
1. Understanding Calorie Counts and Serving Sizes: A typical serving of Browkies (one square) contains approximately 200 calories, depending on the size and specific ingredients used. Be mindful of portion sizes, especially if you’re indulging.
2. Balancing Indulgence with Nutrition: While Browkies are a treat, consider balancing them with lighter meals throughout the day. Incorporating nuts or oats into your recipe can add some nutritional benefits as well.
Best Storage Practices
1. How to Store Browkies for Optimal Freshness: Store Browkies in an airtight container at room temperature for up to five days. This will keep them soft and chewy.
2. Freezing Browkies for Future Enjoyment: For longer storage, wrap individual squares in plastic wrap and place them in a freezer-safe bag. They can be stored in the freezer for up to three months. When you’re ready to enjoy them, simply thaw at room temperature or warm them in the microwave.
Conclusion: The Joy of Browkies in Your Kitchen
Browkies are a delightful treat that embodies the best of both worlds: fudgy brownies and chewy cookies. With the right ingredients and techniques, anyone can create these scrumptious desserts at home. Whether you’re hosting a gathering or simply satisfying your cravings, Browkies are sure to be a hit. Embrace the joy of baking and indulge in this heavenly dessert that combines two beloved classics into one unforgettable experience. Enjoy every bite of your delicious Browkies, and share the joy they bring with family and friends!