

Introduction
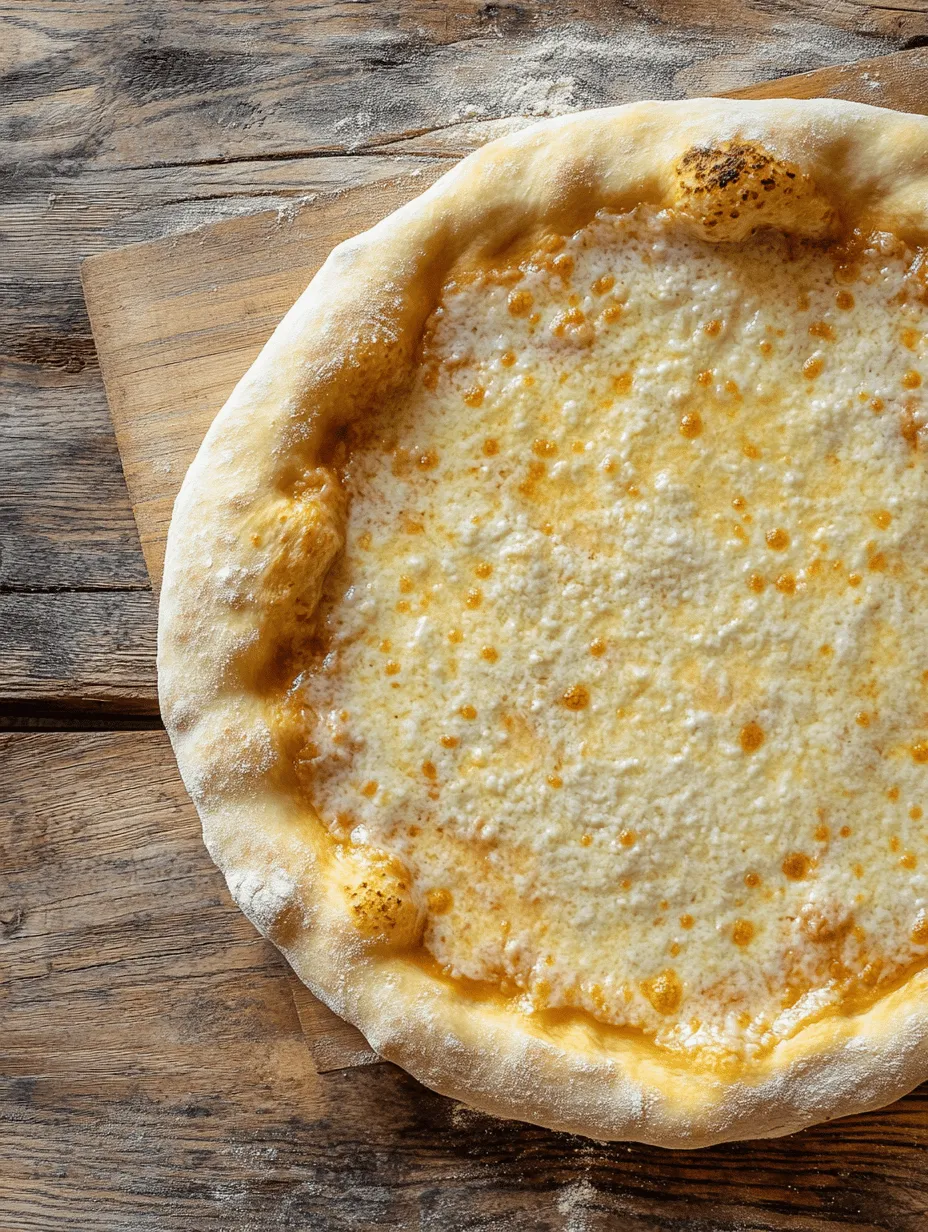
There’s a unique joy that comes with the aroma of freshly baked pizza wafting through your kitchen, a sensation that transports you to bustling Italian pizzerias with every bite. The foundation of this culinary delight lies in the dough—a masterpiece that can transform simple ingredients into an unforgettable dining experience. Mastering the art of pizza dough is essential for any home cook aspiring to create the perfect pizza. This artisan pizza dough recipe not only promises a delectable crust but also offers a rewarding experience that will elevate your pizza-making skills to new heights.
This recipe stands out due to its carefully selected ingredients that contribute to a harmonious blend of flavor and texture. With a focus on simplicity and quality, we will utilize all-purpose flour, sea salt, sugar, active dry yeast, warm water, extra-virgin olive oil, and cornmeal. Each of these components plays a crucial role in creating a dough that is both easy to work with and deliciously satisfying. Whether you’re planning a casual family dinner or a gathering with friends, this artisan pizza dough recipe will ensure that your homemade pizza is a standout dish.
Understanding the Ingredients
Before diving into the step-by-step process of making artisan pizza dough, it’s essential to understand the role each ingredient plays in achieving that perfect crust. Here’s a closer look at the key components:
Flour: The Backbone of Your Dough
The primary ingredient in our artisan pizza dough is all-purpose flour. Its versatility and balanced protein content make it an excellent choice for pizza dough. When selecting flour, look for a brand that offers a high gluten content, as this will contribute to the dough’s strength and elasticity. Gluten is what gives the dough its structure, allowing it to rise and hold its shape during baking. If you’re feeling adventurous, you can also experiment with bread flour, which has even more gluten, resulting in a chewier, more robust crust.
Sea Salt: Flavor and Structure Enhancer
Salt is often underestimated in its importance in dough-making. Sea salt not only enhances the flavor of the pizza crust but also strengthens the gluten structure. It regulates yeast activity, helping to control the fermentation process, which ultimately improves the texture and flavor of the dough. A good rule of thumb is to use about 1 to 2 teaspoons of sea salt for every 4 cups of flour, ensuring a well-balanced taste.
Sugar: The Yeast’s Best Friend
Sugar serves a dual purpose in our artisan pizza dough. First, it helps activate the yeast, providing a quick source of food for the microorganisms that will cause our dough to rise. Second, sugar contributes to the browning of the crust during baking, adding a beautiful golden hue and a hint of sweetness. While you can use granulated sugar, consider using honey or agave syrup for a natural alternative that adds depth to the flavor profile.
Active Dry Yeast: The Rising Star
Active dry yeast is the key ingredient that brings our dough to life. It’s crucial for creating the fluffy texture we desire in pizza crust. When combined with warm water, the yeast activates and begins to ferment, producing carbon dioxide that makes the dough rise. Ensure that your yeast is fresh for the best results; expired yeast can lead to flat dough. If you’re unsure, you can test its effectiveness by mixing it with warm water and a pinch of sugar, waiting for it to foam—this indicates that the yeast is alive and ready to work.
Warm Water: The Perfect Temperature
Water is the medium through which we activate our yeast and hydrate our flour. However, the temperature of the water is critical. Ideally, it should be around 110°F (43°C), warm enough to wake the yeast but not so hot that it kills it. If you don’t have a thermometer, aim for water that feels warm to the touch but not scalding. Adding the right amount of warm water will help combine the ingredients effectively and create a cohesive dough.
Extra-Virgin Olive Oil: Richness and Flavor
Olive oil adds a layer of richness to our pizza dough, enhancing both flavor and texture. It not only makes the dough tender but also helps in achieving a crispy crust when baked. Use high-quality extra-virgin olive oil for the best results, as it will impart a subtle fruity flavor that complements the other ingredients beautifully. About 2 tablespoons for every batch of dough is sufficient.
Cornmeal: The Unsung Hero
Finally, cornmeal plays a vital role in the pizza-making process, especially when it comes to preparing the baking surface. Sprinkling cornmeal on your pizza peel or baking stone prevents sticking and allows for easy transfer of the pizza into the oven. It adds a slight crunch to the bottom of the crust, contributing to the overall texture of your finished pizza.
Step-by-Step Guide to Making Artisan Pizza Dough
Now that we’ve explored the significance of each ingredient, let’s delve into the step-by-step process of crafting your artisan pizza dough masterpiece. This method is straightforward and beginner-friendly, allowing you to create an impressive dough that will serve as the perfect foundation for your favorite toppings.
Activating the Yeast
1. Measure Warm Water: Start by measuring out 1 ½ cups of warm water (around 110°F) into a mixing bowl. Ensure that the water is not too hot to avoid killing the yeast.
2. Add Sugar and Yeast: Sprinkle 1 tablespoon of sugar into the warm water, followed by 2 ¼ teaspoons of active dry yeast. Stir gently to combine and allow the mixture to sit for about 5-10 minutes. You should see bubbles forming on the surface, indicating that the yeast is active and ready to use.
Combining Dry Ingredients
1. Mix Flour and Salt: In a large mixing bowl, combine 4 cups of all-purpose flour with 2 teaspoons of sea salt. Use a whisk or fork to thoroughly blend the flour and salt together, ensuring an even distribution.
2. Create a Well: Once the dry ingredients are mixed, create a well in the center of the flour mixture. This well will be where we pour the activated yeast mixture, allowing it to blend seamlessly with the flour.
Mixing the Dough
1. Pour Yeast Mixture: Carefully pour the activated yeast mixture into the well you created in the flour. Use a wooden spoon to gradually incorporate the flour into the liquid, starting from the edges of the well and working your way inward.
2. Stir Until Combined: Continue stirring until the mixture becomes too thick to mix with a spoon. At this point, you can use your hands to bring the dough together, ensuring that all the flour is incorporated.
Kneading the Dough
1. Transfer to a Floured Surface: Lightly flour a clean countertop or work surface. Turn the dough out onto the floured surface.
2. Knead: Begin kneading the dough by pressing it with the heel of your hand, folding it over, and repeating the process. Kneading is essential for developing gluten and achieving a smooth, elastic texture. Aim to knead for about 8-10 minutes until the dough is soft and elastic.
3. Check for Readiness: The dough is ready when it springs back after being pressed with your finger and feels smooth to the touch. If it’s too sticky, sprinkle a little more flour as needed, but be careful not to add too much, as this can result in a dry dough.
The First Rise
1. Prepare for Rising: Once kneading is complete, shape the dough into a ball and place it in a large, lightly greased bowl. Cover the bowl with a clean kitchen towel or plastic wrap to retain moisture.
2. Let it Rise: Allow the dough to rise in a warm, draft-free area until it has doubled in size. This process typically takes about 1 to 1.5 hours, depending on the room temperature. You can speed up this process by placing the bowl in a slightly warm oven (turned off) or near a warm stovetop.
As the dough rises, it will develop flavor and texture, setting the stage for a truly artisan pizza experience. In the next part of this article, we will delve into shaping, second rising, and baking your pizza to perfection. Stay tuned for more insights on how to make your artisan pizza dough a showstopper at your next meal!
Creating the Ideal Environment for Rising
To achieve that perfect artisan pizza dough, one of the critical steps is creating the ideal environment for the dough to rise. Yeast is a living organism that thrives in warmth; therefore, it’s essential to find a cozy spot in your kitchen. Aim for a temperature between 75°F to 85°F (24°C to 29°C). If your kitchen is too cool, consider turning on your oven to the lowest setting for a few minutes, then turning it off, allowing it to warm slightly before placing the dough inside. Alternatively, you can place the dough in a lightly warmed oven or on top of a warm stove. Cover the bowl with a damp cloth or plastic wrap to retain moisture and prevent the dough from drying out.
Punching Down the Dough
After allowing your dough to rise for about 1 to 2 hours, you’ll notice it has doubled in size. This is the moment to punch down the dough. Gently press your fist into the center of the dough to release the built-up gases, which allows the dough to relax and prepares it for shaping. This process is essential as it redistributes the yeast, sugar, and moisture, ensuring that your dough remains flavorful and rises uniformly during the second rise.
Importance of Releasing Air
Releasing air from the dough is not just about deflating it; it’s also about enhancing the dough’s texture. By redistributing the air pockets, you help in developing a finer crumb structure, which leads to a more uniform rise and a chewier crust. This step is crucial for artisan pizza dough, as it ensures the final product has that delightful texture that is both crispy and chewy.
Dividing the Dough for Pizza Sizes
Once your dough has been punched down and is perfectly relaxed, it’s time to divide it into portions. Depending on how large you want your pizzas, you can divide the dough into 2 to 4 equal pieces. For personal-sized pizzas, aim for about 8 ounces (225 grams) per ball. For larger pizzas, you might want to go for 12 ounces (340 grams) or more. Use a kitchen scale for precision, and remember that a uniform size will help in even cooking.
The Second Rise
After dividing the dough, shape each piece into a ball by tucking the edges underneath to create a smooth top. This technique helps to build surface tension, which is essential for a good rise. Place each dough ball on a floured surface and cover them with a damp cloth or plastic wrap again. Let them rise for an additional 30 minutes to 1 hour. This second rise is crucial; it allows the gluten to relax further, making the dough easier to stretch and shape into your desired pizza form.
Techniques for Shaping the Dough Balls
When it comes to shaping your dough into pizzas, you have a few techniques to choose from. The most authentic method is to use your hands, gently stretching the dough while rotating it. Start by pressing the dough from the center outwards, allowing gravity to help you stretch it. Focus on the outer edges to maintain a thicker crust. If you prefer a more uniform shape, you can also use a rolling pin, but this can deflate some of the air pockets created during fermentation, affecting the final texture.
Timing for the Second Rise and Its Importance
The timing of the second rise is essential for developing flavor and texture. While it can be tempting to rush this process, allowing the dough to rise for the full duration enhances the taste of the crust. During this time, the yeast continues to ferment, producing flavorful compounds that give your pizza crust its distinct artisan quality. If you’re in a hurry, don’t cut it too short; aim for at least 30 minutes, but an hour will yield the best results.
Preparing for Baking
Preheating the Oven
When you’re ready to bake your pizzas, preheat your oven to the highest setting, usually around 475°F to 500°F (245°C to 260°C). A hot oven is crucial for achieving that perfect crust. If you’re using a pizza stone, place it in the oven while it’s preheating to allow it to absorb heat. This will create a beautifully crispy base for your pizza.
Importance of Temperature for a Perfect Crust
Baking at a high temperature not only helps in achieving a crispy crust but also promotes the Maillard reaction, which gives the dough its golden-brown color and rich flavor. If your oven doesn’t reach high temperatures, consider using a broiler for the last few minutes of baking to ensure the top gets that desirable char.
Tips on Using a Pizza Stone or Baking Sheet
If you’re using a pizza stone, make sure it’s fully preheated before placing the pizza on it. This step is vital for a crispy bottom. To transfer your pizza to the stone, use a pizza peel dusted with flour or cornmeal to prevent sticking. If you’re using a baking sheet, line it with parchment paper for easy cleanup and to prevent the crust from sticking.
Shaping the Dough
Techniques for Stretching the Dough Without a Rolling Pin
To stretch the dough without a rolling pin, start by flattening the dough ball with your fingers, creating a disc. Then, using your knuckles to support the dough’s weight, gently stretch it outward while rotating to maintain a circular shape. Avoid using too much force; this technique allows you to control the thickness and shape better than a rolling pin, preserving the air pockets within the dough.
How to Achieve the Desired Thickness and Shape
For a traditional Neapolitan-style pizza, aim for a thickness of about 0.25 inches (6 mm) in the center, with slightly thicker edges to form a crust. If you prefer a thicker crust, adjust accordingly, but remember that thicker dough will require a longer baking time. Keep an eye on the edges to ensure they don’t become too thick, as this can lead to uneven cooking.
Topping Your Pizza
Suggestions for Sauce, Cheese, and Toppings
When it comes to topping your pizza, the options are virtually endless. Start with a good quality pizza sauce; whether you prefer a classic tomato base, a white sauce, or even a pesto, the choice is yours. For cheese lovers, fresh mozzarella is a classic choice, but feel free to explore other cheeses like provolone, gouda, or feta for a twist.
Balancing Flavors and Textures in Your Pizza
To create a harmonious pizza, balance the flavors and textures. Use a combination of fresh and roasted vegetables, meats, and herbs. For example, pairing spicy pepperoni with sweet bell peppers or savory mushrooms with sharp parmesan can elevate your pizza experience. Don’t forget to add a sprinkle of fresh basil or arugula after baking for a fresh, peppery bite.
Creative Ideas for Unique Topping Combinations
Get adventurous with your toppings! Try a fig and prosciutto combo with a drizzle of balsamic reduction for a sweet and savory experience, or go for a white pizza with ricotta, spinach, and garlic. The key is to experiment and find combinations that you love, making each pizza night a new culinary adventure.
Baking the Pizza
How to Slide the Pizza onto the Preheated Stone or Baking Sheet
To successfully transfer your pizza to the oven, gently shake the pizza peel to ensure the pizza is free from sticking. With a quick, confident motion, slide the pizza onto the preheated pizza stone or baking sheet. If you’re using a baking sheet, simply transfer it directly from your countertop onto the oven.
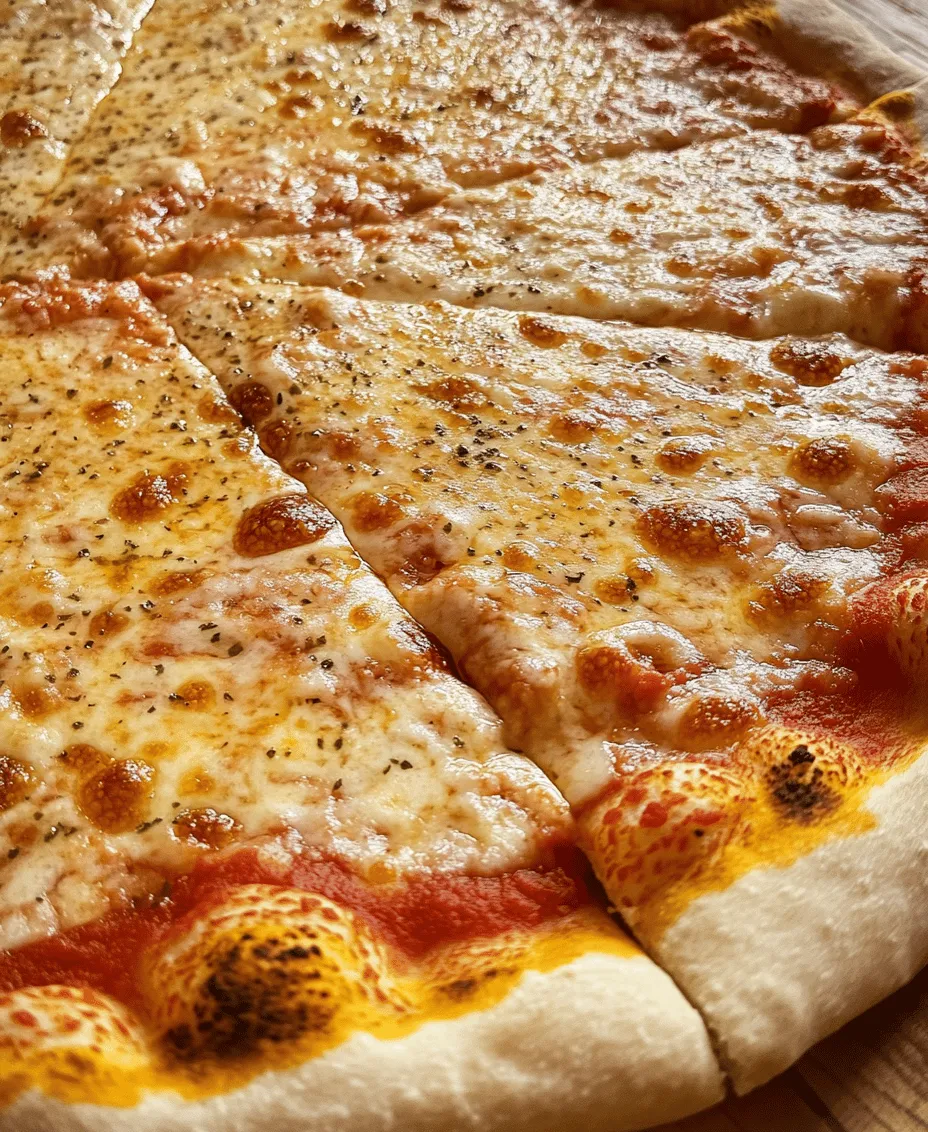
Baking Time and What to Look for in a Finished Pizza
Bake your pizza for about 10 to 15 minutes, depending on your oven’s heat and the thickness of the crust. Keep an eye on it; you’re looking for a golden-brown crust and bubbly cheese with slight browning. The edges should be crisp, and the center should be cooked through without being soggy.
Cooling and Serving
Importance of Letting the Pizza Cool Briefly
Once your pizza is out of the oven, let it cool for a few minutes. This brief resting period allows the cheese to set slightly, making slicing easier and preventing the toppings from sliding off. The aroma wafting through your kitchen will be irresistible, but patience will reward you with cleaner slices.
Techniques for Slicing and Serving
For slicing, use a sharp pizza cutter or a large chef’s knife. Start from the center and work your way outwards to create uniform slices. If you’re feeling fancy, consider using a pizza rocker, which allows for a smooth, even cut across the entire pie. Serve hot, and don’t forget to add a sprinkle of your favorite herbs or chili flakes for an extra kick.
Highlighting the Joy of Enjoying Homemade Pizza with Family and Friends
There’s something inherently joyful about sharing a homemade pizza with family and friends. The laughter, the stories, and the communal act of breaking bread create lasting memories. Encourage everyone to customize their slices with additional toppings, making it a fun and interactive meal.
Conclusion
Mastering artisan pizza dough is not just about creating a meal; it’s about embracing the art of cooking and the joy of sharing. Each step, from mixing the ingredients to shaping and baking, contributes to the satisfaction of crafting something delicious from scratch. As you experiment with different toppings and styles, you’ll discover new favorites that reflect your culinary personality. So gather your loved ones, roll up your sleeves, and let the adventure of homemade pizza begin! The world of artisan pizza is vast and inviting, and with each creation, you’ll be one step closer to becoming a pizza maestro in your own kitchen.
